
How To Use Branching Tool in Wilcom E4?
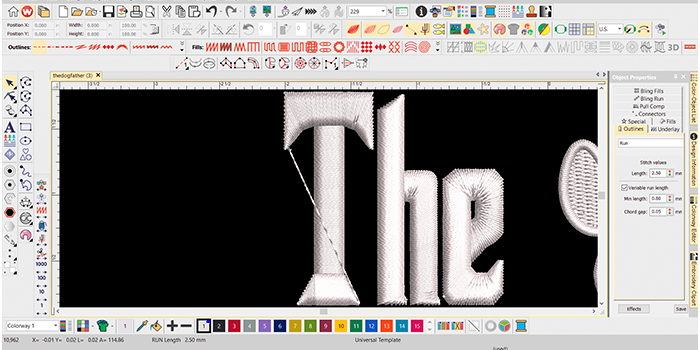
Embroidery DigitizingImagine you’re all set with a beautiful design—colors popping, patterns looking sharp and you think it will be perfect for your next machine embroidery project. But then, suddenly, things start to go awry. Those tidy stitches turn into a tangled mess of threads. It’s like watching your masterpiece undone right before your eyes. Have you ever had one of those moments where you just wondered, What Happened To All My Hard Work?
Applying the branching technique is one of the easiest ways to overcome this common problem. And if you’re a Wilcom user, this blog is for you. We’ll guide you on optimizing your digitizing process by intelligently sequencing and grouping overlapping objects with the Wilcom E4 branching tool. We’ll also talk about its key features, characteristics, and tips on how you can use it effectively to make the most of your embroideries.
What Is Branching Tool?
In simple words, branching tool is a shortcut that brings all your stitching paths together, helping your design flow smoothly without all those extra jumps and trims. Imagine it like connecting the dots in one continuous line — clean and simple. Besides, it’s fantastic for those complex designs where each element is closely packed. The branching tool groups these parts, letting you stitch in one smooth sequence. It’s a handy feature that lets you pull off intricate looks with ease.
What’s So Special About Wilcom E4 Branching Tool?
No Hussle of Manual Branching:
If you’ve ever worked with a complex design full of details, you know how tedious it can be to set up branches manually. But with this feature, it’s like having a personal helper who handles all those tricky parts for you. It’s such a relief to have more time to dive into the fun, creative stuff that makes your project truly stand out.
Object Grouping Made Simple:
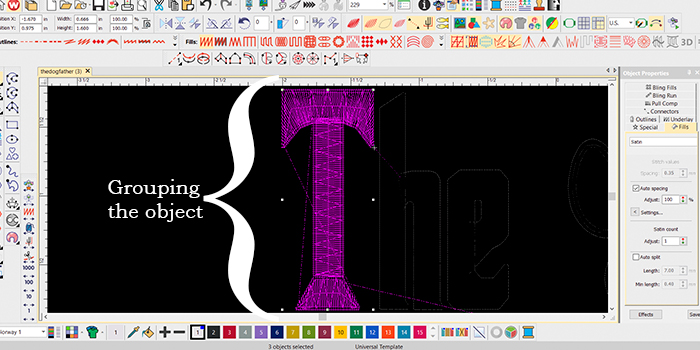
Overlapping or touching objects can be a headache, but not with this digitizing software. It cleverly groups these elements into one flawless branched design. This helps you start and finish stitching.
Perfect Your Design with Easy Post-Branching Adjustment:
Flexibility is key in any creative process, and this feature gives you just that. Post-branching adjustments in the digitizing software let you tweak the start and end points of your branched objects, offering you more precision and control in the digitizing process.
How to Make the Most of Wilcom e4 Branching Tool? (It’s Easier Than You Think)
1) Access The Branching Tool
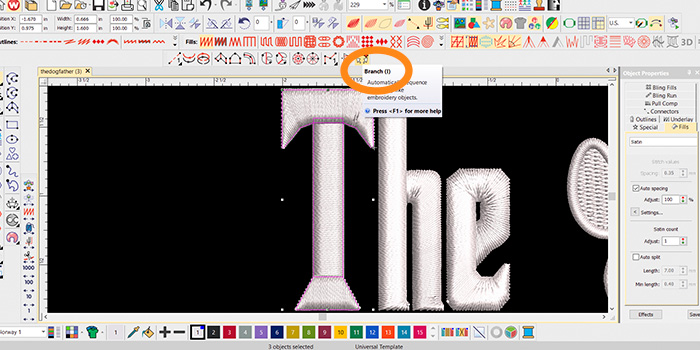
The first step is easy: go to the menu bar, click "Arrange" and select "Branching " or if you prefer a shortcut, just press the 'I' key on your keyboard to get started. Think of it as laying the foundation for your embroidery masterpiece—everything gets easy from here.
2) Pick the Right Objects for Branching
Next up, it’s time to choose which parts of your design to branch. Here’s the key: make sure the objects you select are either touching or overlapping. This connection is crucial for branching to work properly. If they’re not linked, the tool might not perform as you expect. Don’t forget to highlight all the relevant points before you move on. It might seem like a small thing, but it’s super important for keeping your design flowing smoothly in the embroidery digitizing software.
3) Digitize Entry and Exit Points
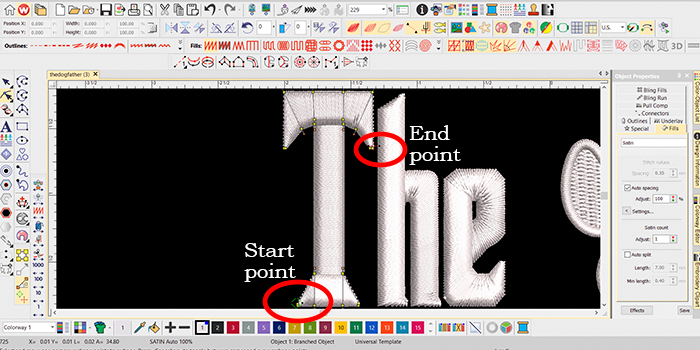
Once you've selected the objects you want, the next step is to digitize the entry and exit points for stitching using a suitable embroidery digitizing technique. The software will prompt you to mark the start and end points. It's best to press Enter twice to use the default settings. This little trick will group components to ensure your stitching runs smoother. Taking a few minutes can make all the difference in your embroidery.
4) Fine-tuning Start and Finish Points
If you think your design needs a little tweak, you can do this by adjusting the entry and exit points. You can use the reshape tool to accomplish this. The beauty of Wilcom digitizing software is that it automatically changes routes to accommodate those new positions. This ensures consistent sewing fluidity. With just a few changes You can make subtle modifications to your design.
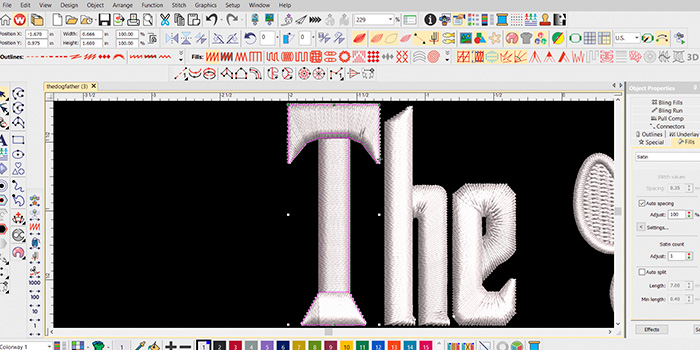
5) Check Your Stitch Order
After completing the branching process, it is necessary to closely observe the sewing sequence. Take a moment to look at the branched objects and make sure that the stitching sequence minimizes the trims and flows smoothly from start to finish. By doing this, you will increase the accuracy of your final output.
6) Save Your Design
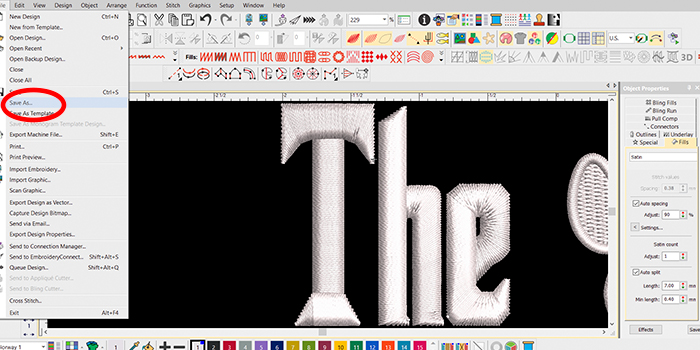
Now that you've reviewed every detail and made those tweaks, it's time to wrap things up. Go to the "File" menu, hit "Save," and give your design a name you'll remember. It’s like putting a bow on a gift—this last step ensures your work is safely stored and ready to go. Once you save, your file is ready to load into your embroidery machine. Easy as that!
Top Tips and Tricks You Need to Know
1) Save Your Work Frequently
Saving your designs is one of those habits that can save you a lot of frustration. This not only prevents data loss but also allows you to experiment with designs, knowing that previous versions have been preserved. Whether you’re experimenting with a new stitching effect or changing the overall look, hitting ‘Save’ every time will give you peace of mind. It also ensures that your completed work is always safe.
2) Review Stitch Orders
Regularly checking and adjusting your sewing sequence is another aspect of ensuring a smooth and efficient digitizing process. Post-branching, it's a good idea to examine the branched items and take a closer look at the stitching sequence. Not only does this help you detect unnecessary trimming or skipping that might impede the flow, but it also helps keep everything running like clockwork. Early detection of these inaccuracies will help your design look sharper after it's all said and done.
Final Thoughts:
We've explored the power of the Wilcom E4 branching tool and let's face it, it's a real embroidery game-changer. From automatic creation of complex branching to post-branch adjustment, It allows users to create complex, multi-layered embroidery. while streamlining the overall digital process workflow. This gives them more control over their projects.
Our digitizers use the full potential of the Wilcom E4’s capabilities to create digitized files that exactly match your needs. Whether it’s a perfect logo redesign for you, repair techniques, or custom tailoring, we’re here to help.